

Screenshots show the desktop interface with fictional example data. Names, messages, counts, and connection states are illustrative, not account defaults or evidence of live activity.
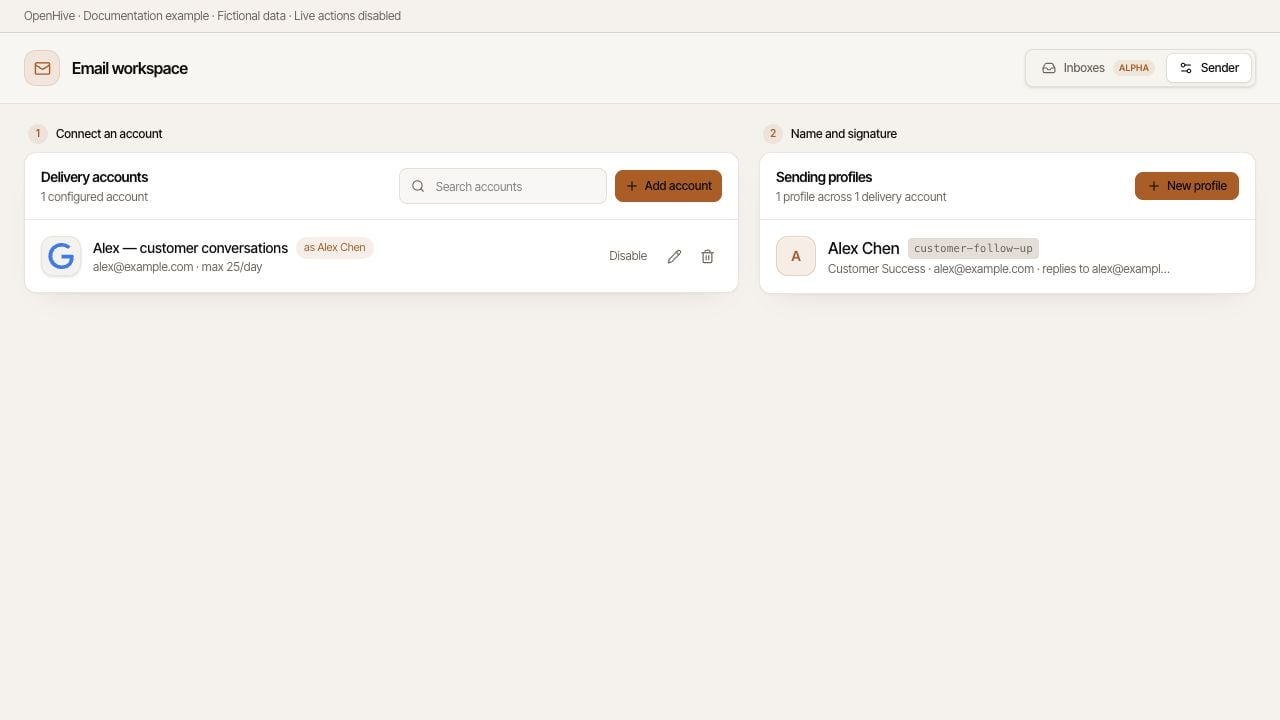
Sender separates delivery accounts from sending profiles.
Three pieces, three jobs
For example, a delivery account for
alex@example.com can use a profile named Alex Chen with Alex’s signature. Incoming messages need a supported inbox connection. If the profile specifies a different Reply-To address, check that mailbox too.
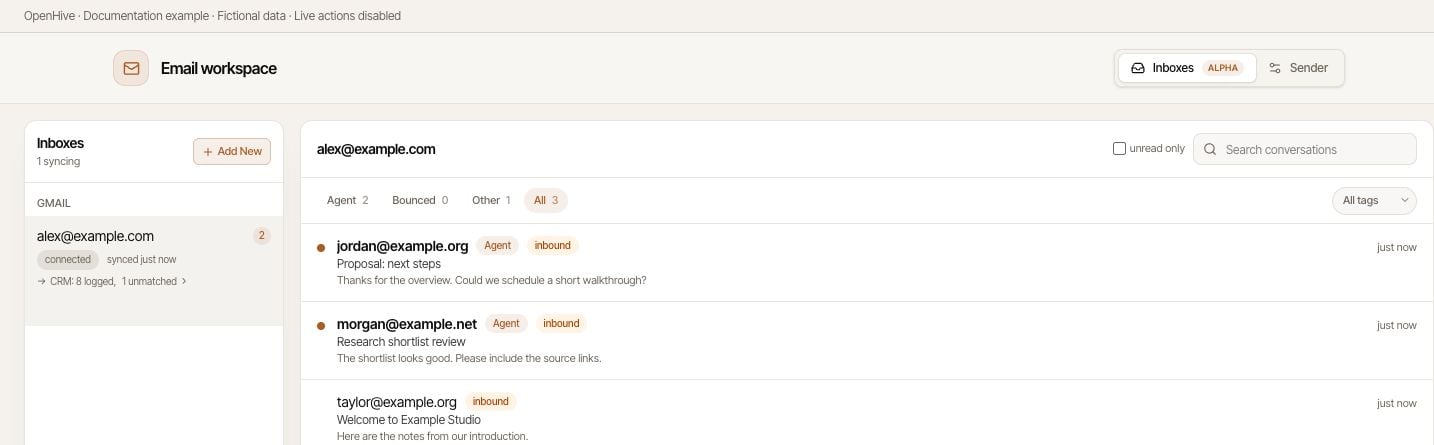
Inbox organizes example conversations by mailbox, category, and tag.
Set up your first workflow
- Open the email workspace from Inbox in the CRM area, then select Sender.
- Connect a delivery account for your provider.
- Create a sending profile and review which accounts use it.
- Switch to Inboxes and sync the mailbox that should receive replies.
- If you choose to test sending, use an address you control. Check the received name, signature, and reply destination.
- Preview and send a reply only after checking the thread and recipients.
If email controls are missing, check Settings and the workspace’s feature availability. The Email senders setting also describes when sending tools become available to new colonies. A connected account is not a promise that every colony has the corresponding tools.