

Before you start
Have an OpenHive account, an internet connection, and the websites of three companies you want to compare. Agent work uses your available model access and credits; check the plan badge if a run cannot start.1
Install and sign in
Download OpenHive from open-hive.com and follow the installation instructions for your platform.Open the app and follow the sign-in screen. If you use email-code sign-in, enter the code from your mailbox. Use a password instead is available for an account with a password.
2
Let setup finish
The first launch prepares the local runtime and downloads dependencies. Keep the app open and connected while setup runs. Use Show details on the startup screen to see what it is doing.Setup may also run after an update. If it reports an error, follow startup troubleshooting.
3
Describe a small task
Choose New Chat in the sidebar. Paste the prompt below, replace the three bracketed websites, and submit it.
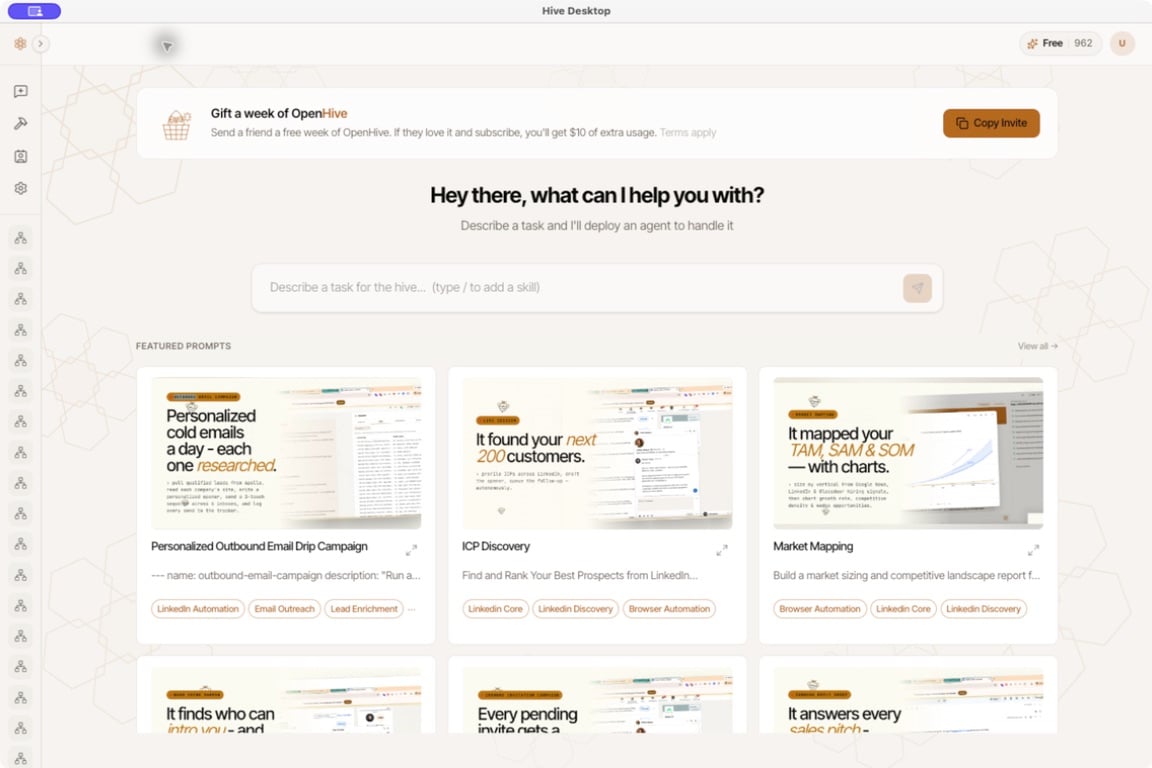
Use the home-screen composer to state the task and the output you want.